Office 365 groups lets you choose a set of people that you wish to collaborate with and easily set up a collection of resources for those people to share. Resources such as a shared Outlook inbox, shared calendar, shared document library, Planner and a site for collaborating on files are a part of an Office 365 group.
The best part of Office 365 groups is such that you don’t have to worry about manually assigning permissions to all those resources because adding members to the group automatically gives them the permissions they need to the tools your group provides. Additionally, groups are the new and improved experience for what we used to use distribution lists or shared mailboxes to do.
Office 365 Groups
Although, Office 365 groups helps in addressing many gaps from a collaboration stand point it has become a huge challenge for IT/Office 365 administrators to manage them. So, in this article I’ll be explaining in detail about what Office 365 groups is all about, how you can create it and what are the different sources from which we can create an Office group. So, let’s get into the details …
- What are Office 365 groups?
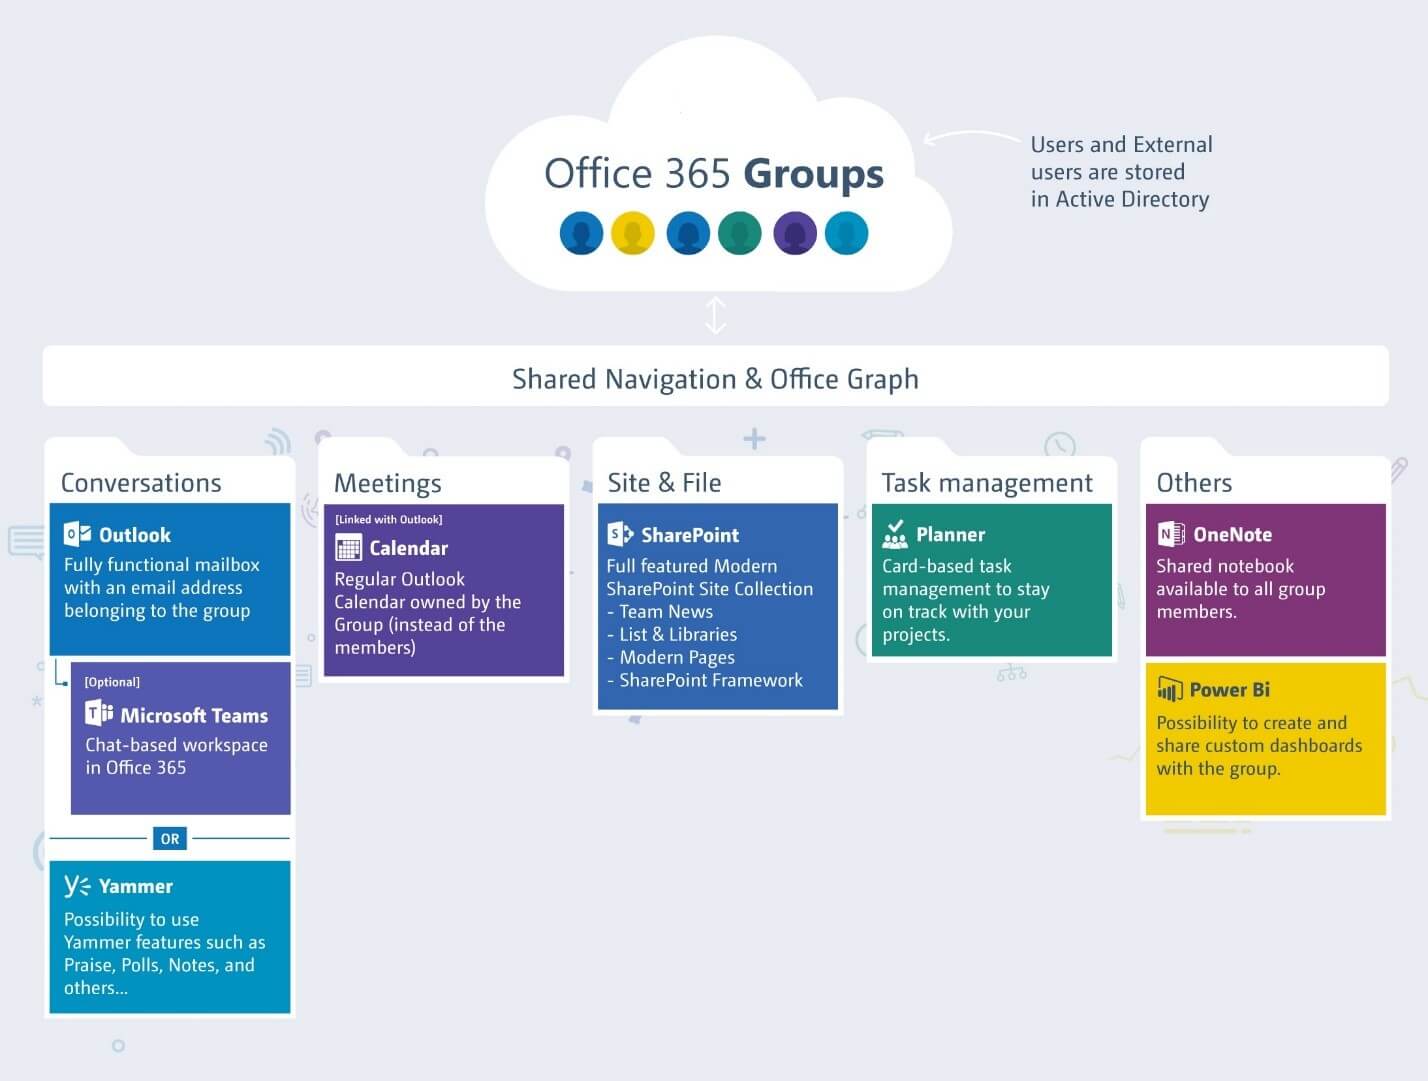
Shared navigation and office graph
Well, to put it in very simple words, Office 365 groups is nothing but a cross-application membership service in Office 365. It’s an object created in Azure Active Directory with a list of members in it and also has some inbuilt workloads associated with it such as a SharePoint Team site, Yammer Group, Shared Exchange mailbox, Planner, Power BI and OneNote. You can add or remove people to the Group just as you would add any other group-based security object in Active Directory.
So, what does this mean to me? Well, it simply means that you don’t need to go to different places in your Office 365 eco-system to collaborate with your team members or to find a document that’s stored in a SharePoint document library in a SharePoint site. You have a single console now called as Office 365 groups which can help in bringing all the required workloads into one single hub so that it’s easy for you to collaborate within your team members while you’re working on a project.
Alright, I think I’m just talking all technical stuff till now, but I haven’t really talked or even showed you folks about how this can add value as an end user or as a project manager/ team lead. So, let’s get into the fun stuff now ….
Every time I create an Office 365 group this is what it looks like …
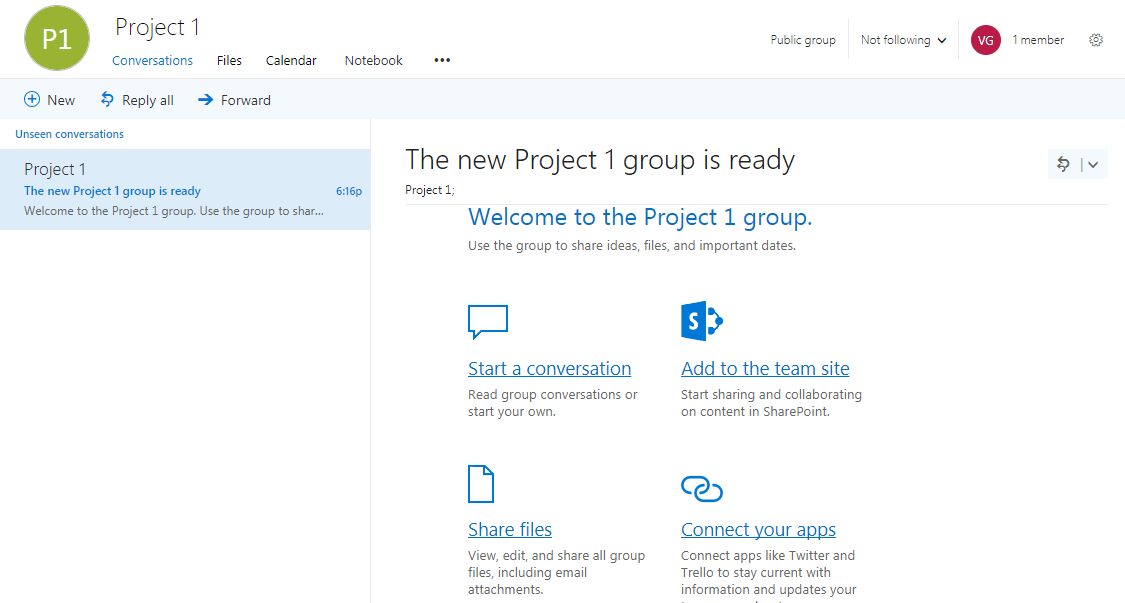
Creating an Office group
I would get a welcome email in my mailbox stating that the group is ready and the members whom I’ve added to the group would receive a similar email notification stating that they’re a part of that group now. If you’re using Outlook 2016 or Office 365 Pro Plus, then the group would automatically get mapped as a folder in your outlook client as shown in the image below.
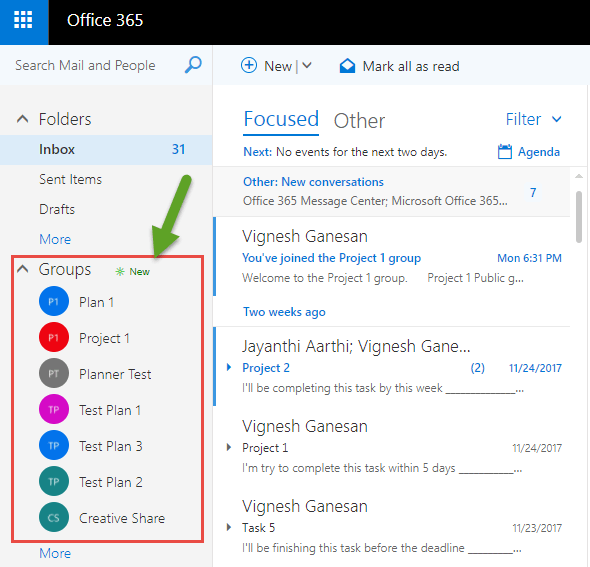
Workloads mentions
In addition to that, once you have created a group you would get the below mentioned workloads by default along with the Office 365 group.
a. Conversations -This helps you to have email conversations within the group by sending an email to the group’s email address as shown in the image below. Any conversation which happens within the group can be viewed by all the members of the group.
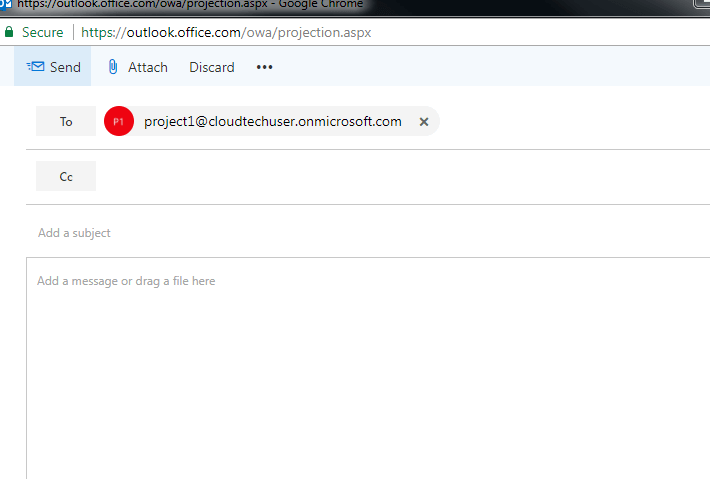
Conversions
b. Files -You can upload all the files related to your project /team in this Tab and once it’s uploaded here it will be available to all the team members as shown in the image below.

Files
c. Calendar (you can schedule or view the meeting on the group if you’re a member of the group). In addition to this you can view your own calendar as well in the same Tab.
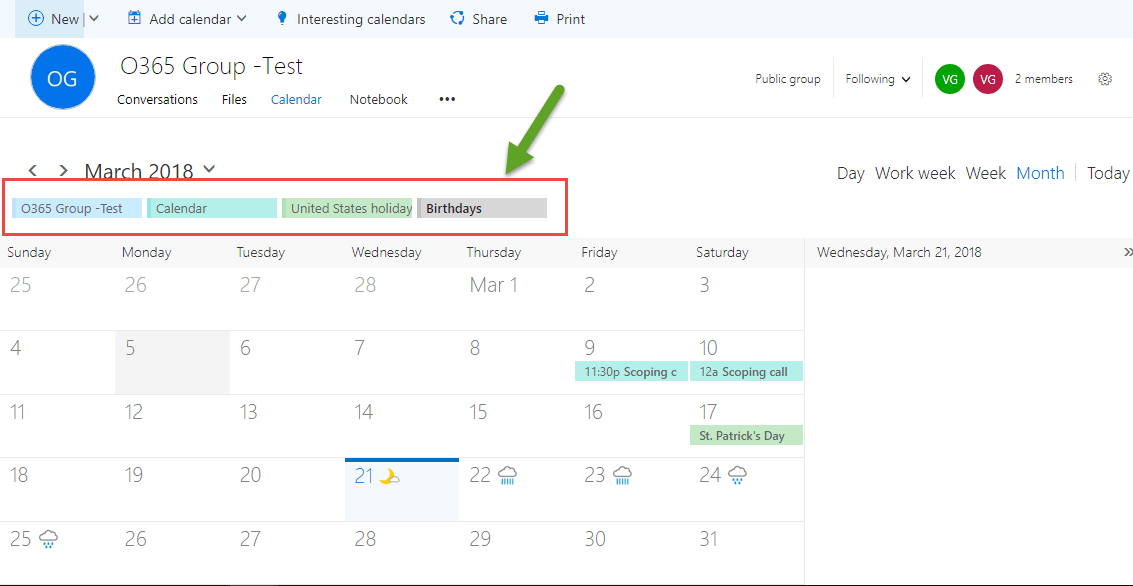
Calendar
d. Notebook (Notebook which is used to share updates with the entire team in the group or you can create new section which is password protected). This can be used for capturing meeting points or something of that sort.
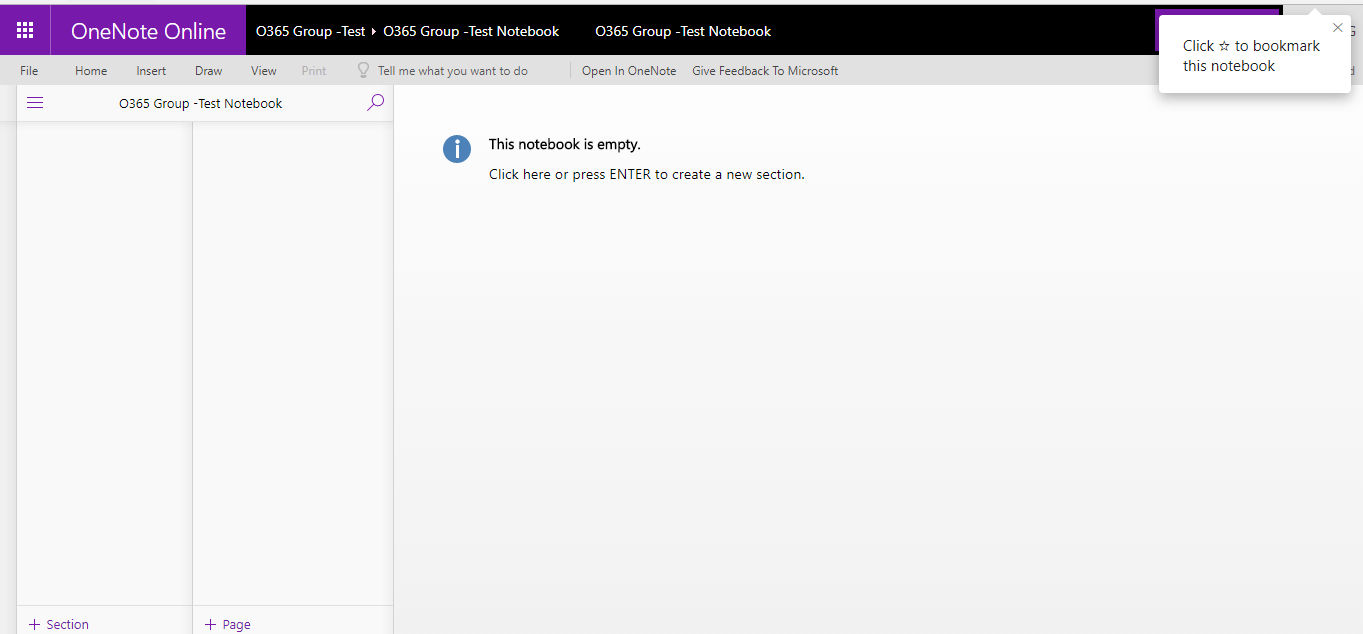
Notebook
In addition to all these tabs, you would notice an ellipsis button towards your right side next to the “Notebook” Tab as shown in the image below. Clicking on that ellipsis would give you two options as shown in the image below. 1. Planner & 2. Site
Now, let’s look into these two options.

Two options
e. Planner (You can create tasks and plan them using planner). Any tasks that you need to plan as a part of your project can be added to the Planner with appropriate deadlines. You would also get email reminders for tasks that are nearing the deadlines.
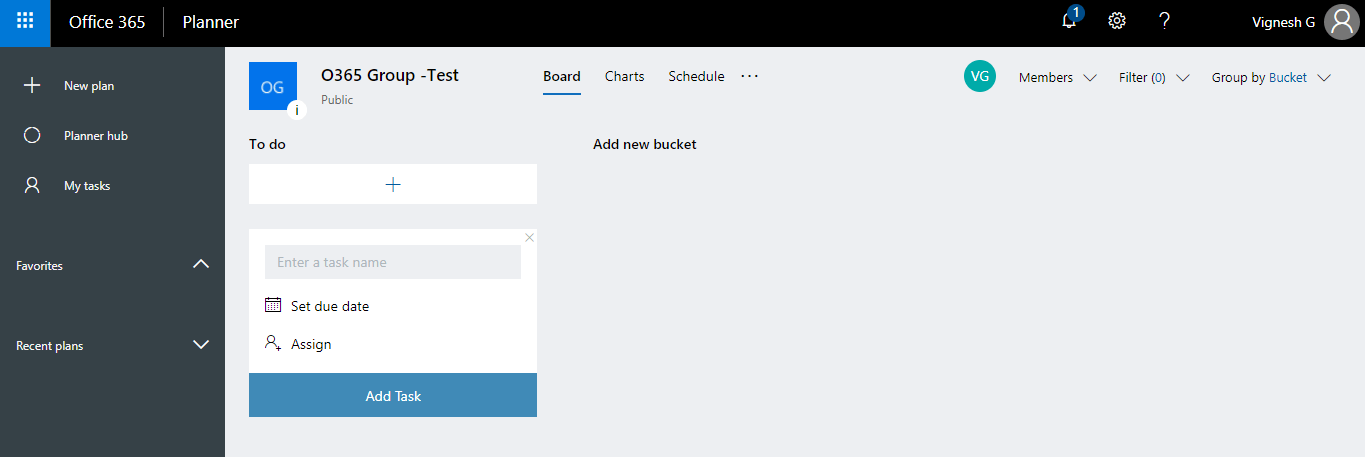
Planner
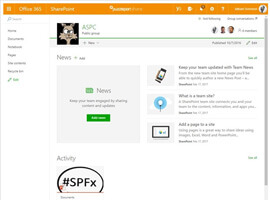
f. Site (SharePoint group site, which can upload documents or create new pages, web part, InfoPath form, etc.). So, when you click on site it would take you to a SharePoint Site which has the Modern experience and you use this for document collaboration and other SharePoint related stuff.
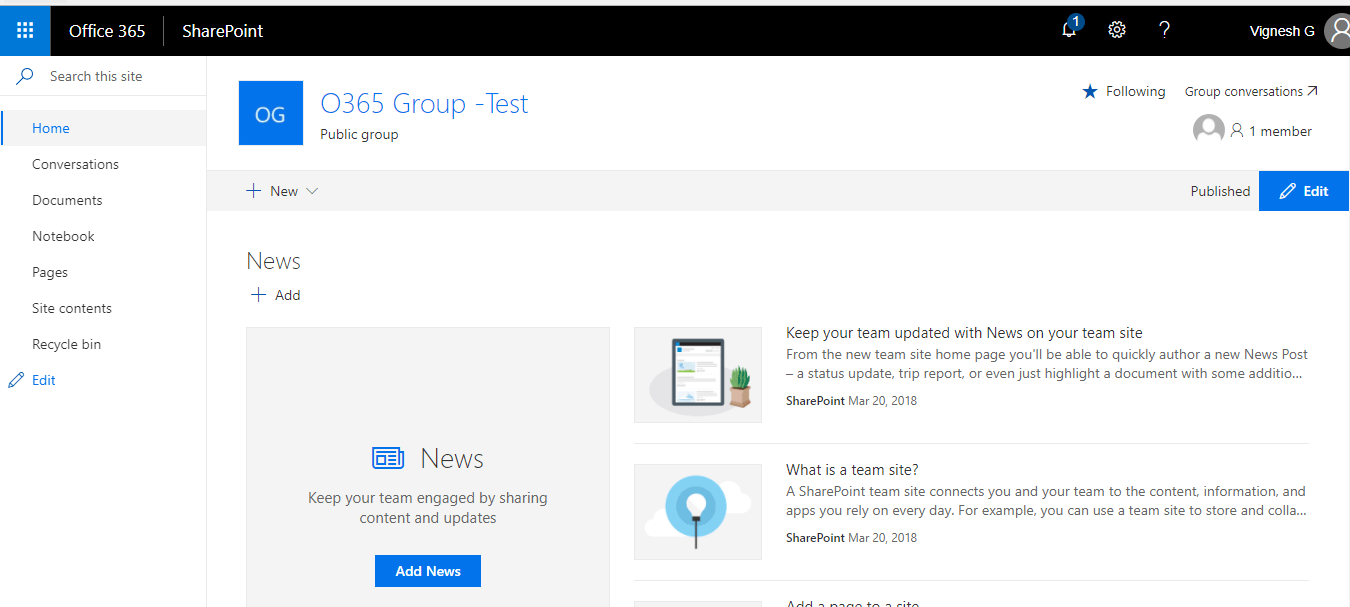
SharePoint group site
Note: The “Files” tab which I was talking about earlier is nothing but a document library which is a part of this SharePoint site. So please don’t get confused that it’s a different document library altogether. I see many people getting confused about these two workloads in an Office 365 group where they think that these are two different pieces altogether. So please bear in mind that these are both the same. The reason why Microsoft has given this as two pieces is, using the “Files “tab you can directly upload the files/documents to the document library instead of navigating to the “Site” tab and uploading it to the document library from there.
Listed below are the features that you get in the Modern SharePoint site …
- Responsive Pages to provide Team News
- Group Classification and Privacy always on display, an indicator for external users will also show up here
- Jump to the Outlook Conversations or manage Group members right here
- Create something new: Document Libraries, Lists, Pages, etc.
Now, that I have given an overview of Office 365 groups and the workloads in it and its functionality let’s try to understand how to create an Office 365 group. Well, when I think about it, it really excites me and scares me at the same time and I’ll explain the reason for that below.
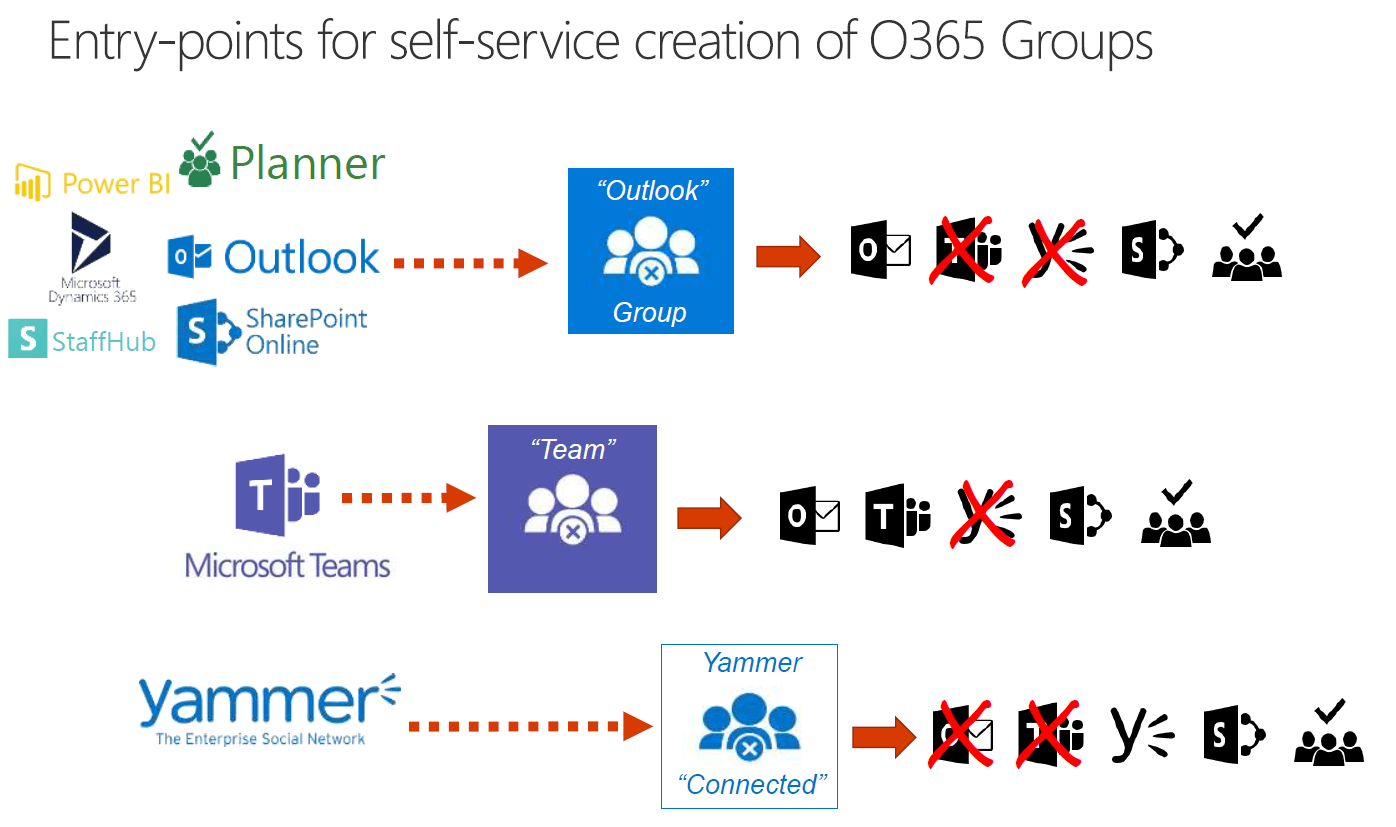
Entry-points
Note: As shown in the image above, an Office 365 group can be created from all these different sources and this may or may not change in the mere future (meaning, Microsoft can add few more sources from which you can create an Office 365 group, or they might even remove the creation of an Office 365 group from a specific source).
As of today, any end user who has access/license assigned to all these applications can create an Office 365 group. Of course, this is really exciting to me from an end user perspective as I don’t need to go to a specific location in Office 365 to create an Office 365 group and it can be created from within SharePoint, Outlook, Planner, Power BI, Teams, Yammer, Microsoft Dynamics 365 & StaffHub.
But when I think about this from an IT admin/ Office 365 admin perspective it really scares me because this would just open the door for all the users to create an Office 365 group either knowingly and unknowingly (meaning, may be the users intent was just to create a Yammer group or a Planner but, in the backend, it creates an Office 365 group and the user wouldn’t know about this).
However, there’s a catch here. If you pay attention to the image above you would notice that the behavior or the features of the Office 365 group is not the same when its created from a different source (meaning, when a group is created by the creation of a Team in Microsoft Teams you would only get outlook, Teams, SharePoint & Planner and not Yammer. On the other hand, when an Office 365 group is created as a result of the creation of a Yammer group you would only get Yammer, SharePoint & Planner). So, the point here, there’s going to be difference in the features/workloads you get in an Office 365 group based on what’s the source. The reason behind this is, Office 365 acts as a building block for all these groups created in Yammer, Teams and so on.
Now, if you’re interested in knowing more about the functionalities of all these groups and how they differ based from which source they get created then please go through the links below.
- Creating a Planner in Office 365 (this would create an Office 365 group in the backend) :_ https://support.office.com/en-us/article/create-a-plan-in-microsoft-planner-93e65b03-6fac-4661-a502-e3161475ab93
- Creating a group in Outlook :_ https://support.office.com/en-us/article/create-a-group-in-outlook-04d0c9cf-6864-423c-a380-4fa858f27102
- Creating a group in Yammer :_ https://support.office.com/en-us/article/create-a-group-in-yammer-b407af4f-9a58-4b12-b43e-afbb1b07c889
- Creating a group in StaffHub :_ https://support.office.com/en-us/article/add-employees-or-groups-in-microsoft-staffhub-f56ba0bb-8ca2-4583-8c0e-e10be3fc8985
- Creating a group in Power BI: _ https://docs.microsoft.com/en-us/power-bi/guided-learning/publishingandsharing#step-6
- Creating group in Microsoft Dynamics 365: _ https://docs.microsoft.com/en-us/dynamics365/customer-engagement/admin/deploy-office-365-groups
- Creating a team in Microsoft Teams( this would create an Office 365 group in the backend) :_ https://support.office.com/en-us/article/create-a-team-for-staff-in-microsoft-teams-314ac9d5-36a9-408e-8ae4-7ef20e9f1ddf
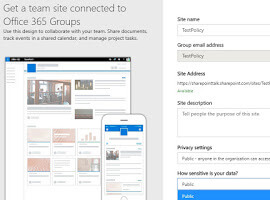
- Creating a modern team site in SharePoint Online (this would create an Office 365 group in the backend):_ https://support.office.com/en-us/article/create-a-team-site-in-sharepoint-online-ef10c1e7-15f3-42a3-98aa-b5972711777d
So, I believe by now you would have understood the beauty of an Office 365 group and how to create it and what are the different sources from which you can create an Office 365 group.
Now, let me get into the flip side of this….I believe by now you folks would have understood that Office 365 groups is the basic building block for all the groups that gets created from different sources and let me also tell you that it’s also possible to create a group in Yammer or create a Team in Microsoft Teams from an existing Office 365 group ( meaning , when you create a new group in Yammer or while creating a Team in Microsoft Teams it creates an Office 365 group and that’s something which I already explained before .In addition to this I can create a Yammer group or a Team in Microsoft Teams from an existing Office 365 group ) as shown in the image below.
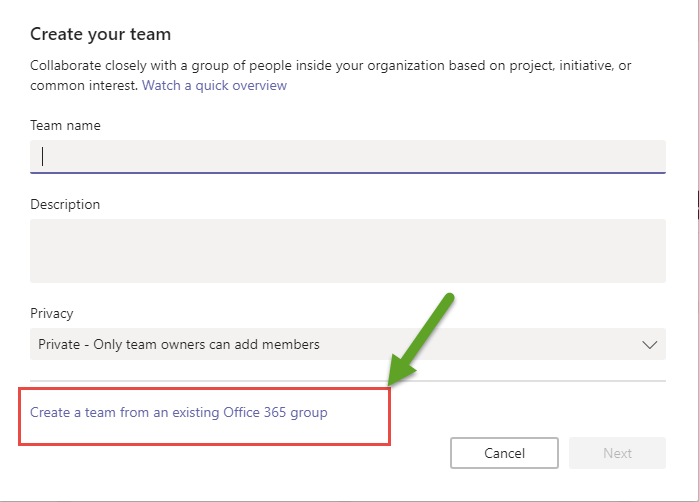
Create a team from an existing Office 365 Group
Note: In the image above, you can see that I’m trying to create a Team in Microsoft Teams and it gives me an option to choose an existing Office 365 group that already exists in Azure AD.
Behavior of an Office 365 group when it’s connected to Microsoft Teams:
- When a Group is created through Teams, the privacy of the Office 365 Group is automatically set to private and cannot be changed.
- You can add a Teams chat to an existing Office 365 Group if it’s set to private and has fewer than 600 members in the group. Note that this may change in the future.
- Teams cannot be added if the Office 365 Group uses Yammer for conversations instead of Outlook, as mentioned above
Behavior of an Office 365 group when it’s connected to a Yammer group:
Outlook Conversations are for emails; Microsoft Teams are to live chat and Yammer is for forum-like threaded conversations. Yammer conversations are a little different, as they are not always available with Office 365 Groups. To get an Office 365 Group with Yammer Conversations, you must create it from within Yammer and Yammer only.
If you decide to create a Yammer connected group, it’s exclusive. You will not be able to use the Outlook Conversations, Microsoft Teams, or the Calendar.
Yammer Group
The behavior of an Office 365 groups varies based on which service it’s connected to and you can test if for yourself by creating it from different sources.
Alright. That’s all I have for this blog post and I’ll come back to you folks soon on different topics in Office 365 groups such as 1. How to restrict the creation of Office 365 groups to all the users? 2. Best practices for Office 365 groups administration 3. PowerShell for Office 365 groups etc.…
Please stay tuned until then and good luck with Office 365 groups.



 Using a SharePoint Online list as a Knowledge source via ACTIONS in Copilot AI Studio
