In this article I will guide you how to simply create your own chatbot or copilot.
Idea is that we create bot that will help potential visitors of Exit music festival with lineup information’s, tickets and other options.
If you are not familiar, Exit is a summer music festival founded in 2000 and held at the Petrovaradin Fortress in Novi Sad, Serbia.

Build copilot with Microsoft Copilot Studio
We can build chatbots or copilots with a lot of different technologies.
One of the powerful tools for that is Microsoft Copilot Studio.
Microsoft Copilot Studio is a graphical low-code tool for creating and maintaining copilots.
A copilot is an AI-powered conversational interface based on large language models (LLMs) and additional sources of knowledge.
It is part of the Power Platform, it is rebranded and previously it vas called Power Virtual Agents.
The future for this tool is bright following significant investments in generative AI.
Lets start creating your first bot
You do not need high developer skills to use this tool. Because it is low-code platform, everyone can create chatbots with some configuration and drag and drop actions.
First, if you do not have license for Power Platform, you can get your free trial Microsoft Copilot Studio.
After getting your free trial license, next step is to create environment in Power Platform.
If you are not familiar with creating environments, you can find more details here.
So now when you have in place Copilot Studio and Environment, after you log in you should see this interface.
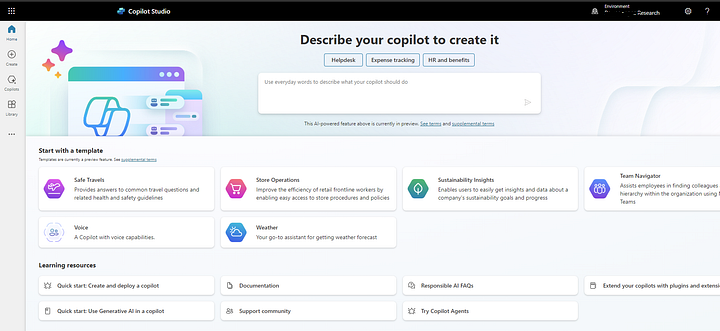
Now press + button (Create) and choose New copilot.
Give your copilot name and description.
Also instructions are very important, because copilot will use AI to create copilot skeleton and setup behavior of the bot.
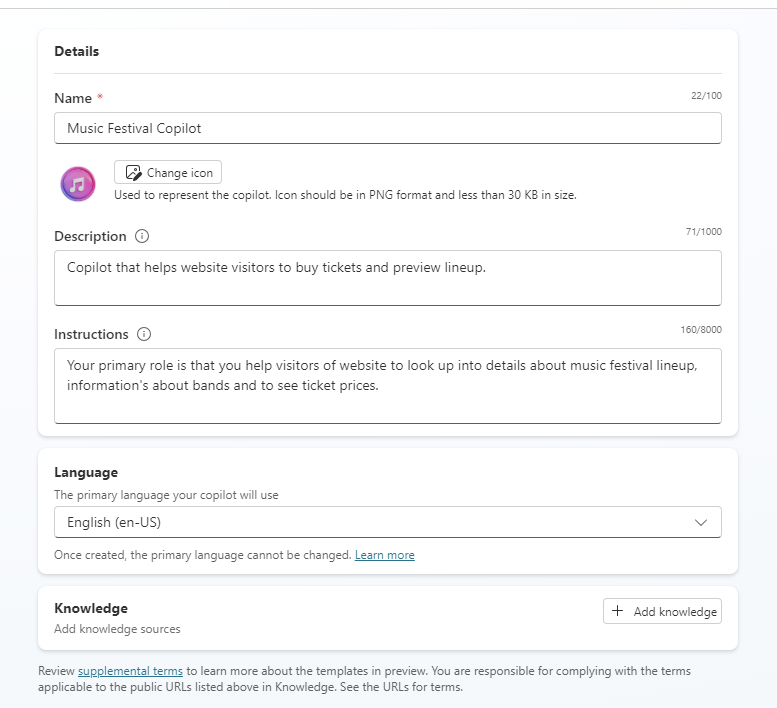
Next, we need to give to our copilot knowledge.
If we do not provide some knowledge to copilot, because it is built on top of the Azure Open AI, it can answer question from public available sources, but answers could be vague and not accurate enough.
So we will provide public website of festival as main knowledge feed.
Press Add knowledge button and choose option Public website.
Enter website link and press Add.
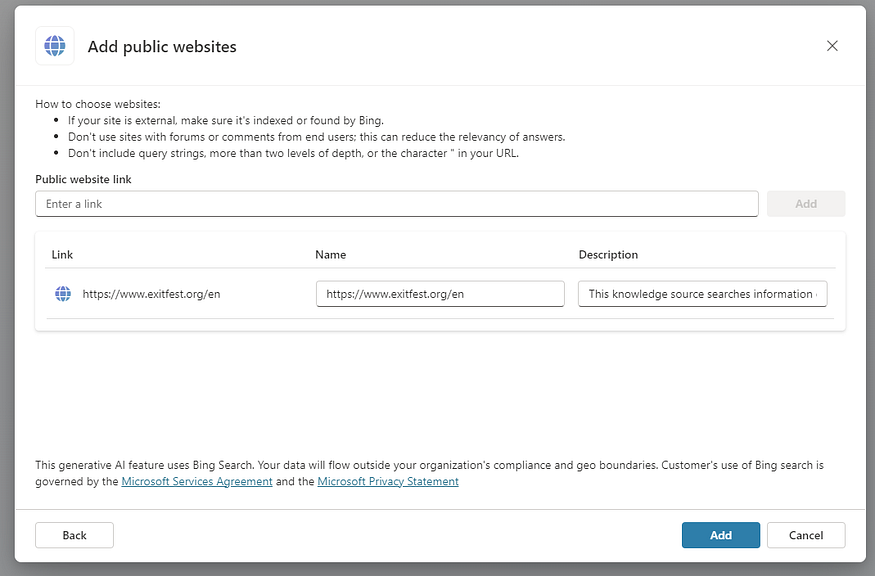
After that press Create button and the copilot will be provisioned.
When the copilot is created, you should see Overview page.
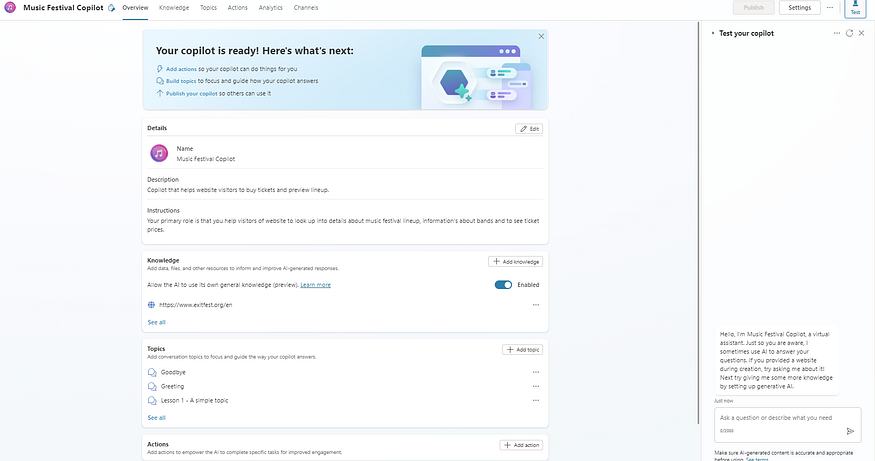
Lets test how it works
As you see on the right side, we have interface where we can test our bot. We will get hello message.
Lets ask him some questions about the festival.
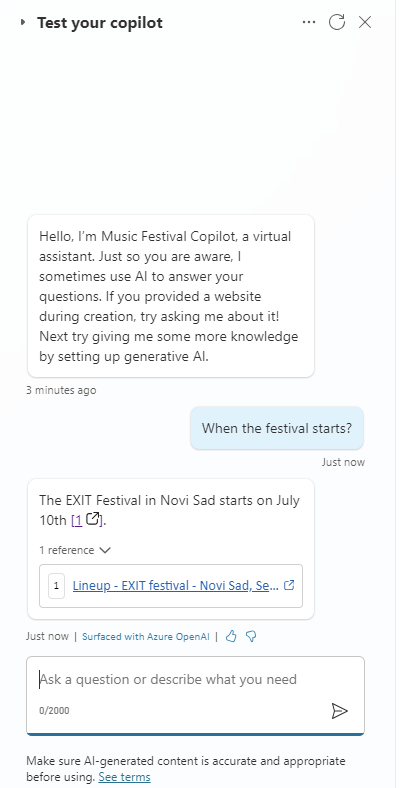
It worked!.
It found that information from the website that we provided, with the link to the website.
Lets try some other thing.
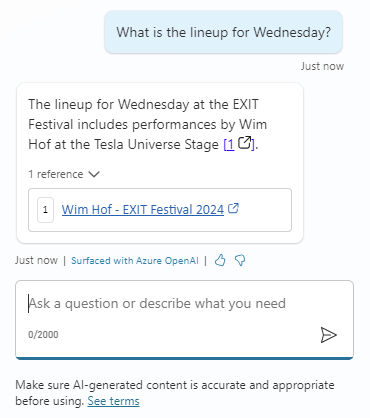
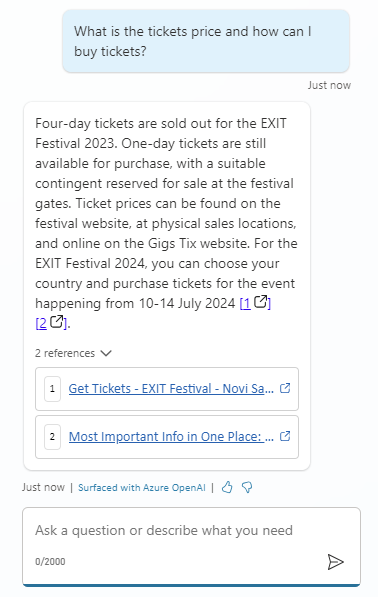
So as you can see, copilot gives me accurate information’s from the public site, and visitors can easily communicate with bot and get information’s about festival.
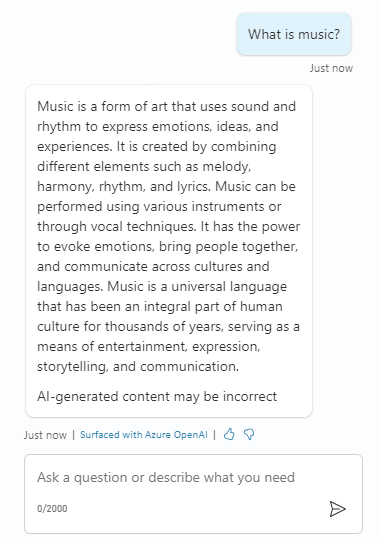
If some information is not available on website, it will use it Azure Open AI feature and fetch information’s from other sources, which is one of the main advantages of Copilot Studio.
So that’s it for today.
Try to create your own chat bot and enjoy.
In upcoming days, we will discuss a little bit more about more advanced features of Copilot Studio as Topics, Actions and some settings configuration, so stay tuned.
About the Author:
Hi there! I’m Branko, a seasoned Software Developer with 8 years of hands-on experience in crafting solutions using C#, .NET, and Python.
Reference:




 Using a SharePoint Online list as a Knowledge source via ACTIONS in Copilot AI Studio
