Security features are one of the pillars of Teams Premium. Today I will show you how to use sensitivity labels in Teams. You can create multiple labels, assign them to different scenarios and manage what is enabled and what’s not in a meeting. Together with Custom meeting templates it gives you control over meeting features available in Teams.
Introduction
A label is a tag that you can assign to a piece of information in Microsoft 365. It could be a document, an e-mail, a chat message, etc. Teams Premium allows you to assign a label to a meeting.
Each label has its own settings behind it and when applied to a meeting it enforces those settings. For example, when you apply the label Confidential to a Financial call, only organizers will be able to present content during the meeting, and so on.
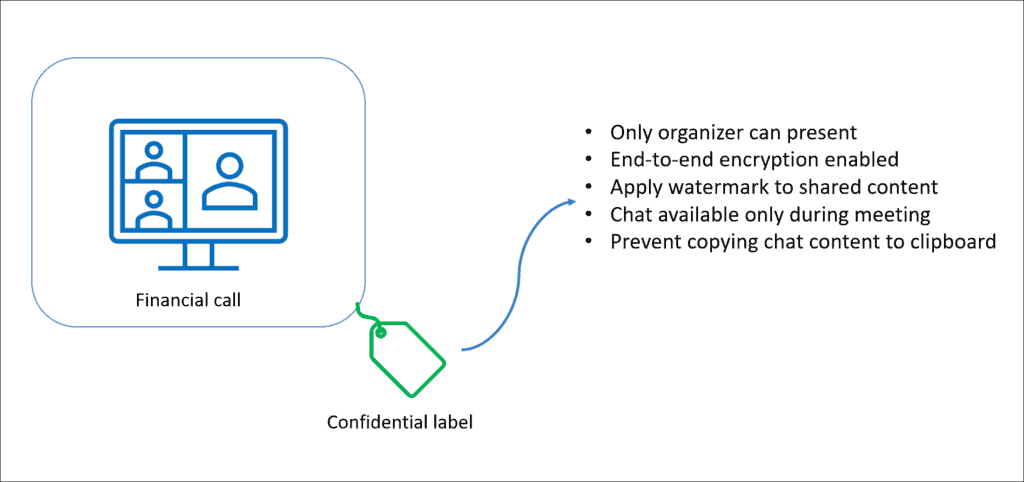
The label defines which feature is enabled during a meeting. It covers only a specific set of features.
Labels are configured in Purview (not in Teams Admin Center). It’s a service in Microsoft 365 that gives you tools to protect and govern your data.
Before you start
- The Teams Premium license is required. You can buy it or enable a 30-day trial license and test it. You can find the detailed instruction in my previous post – Overview of the Teams Premium features.
- Teams Admin role and Global Admin/Compliance Admin for Purview
Create a label
The first step is creating a label – a definition of what security features will be enforced when you assign the label to a meeting.
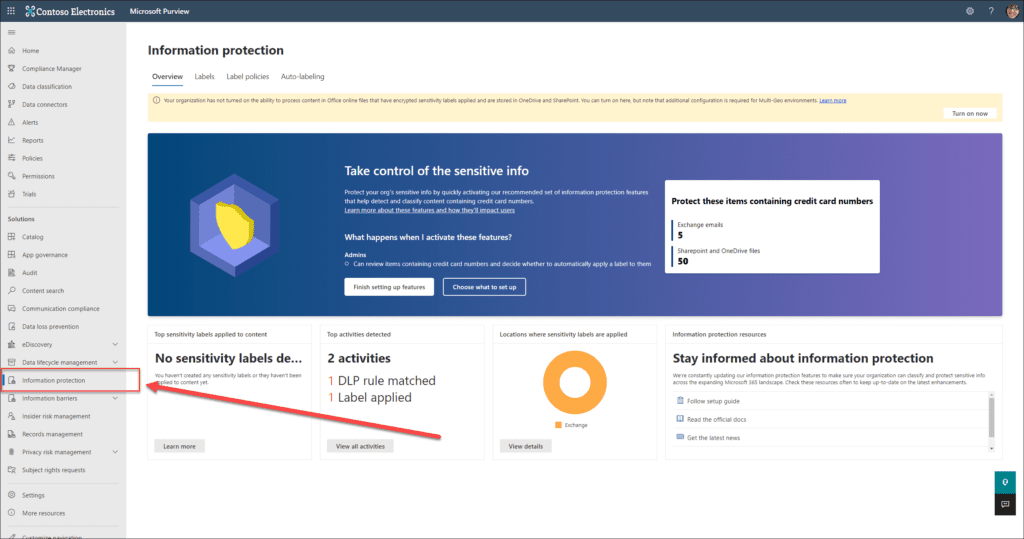
1. Navigate to the Purview compliance home page – https://compliance.microsoft.com/homepage, go to the Solutions section and open the Information protection page.
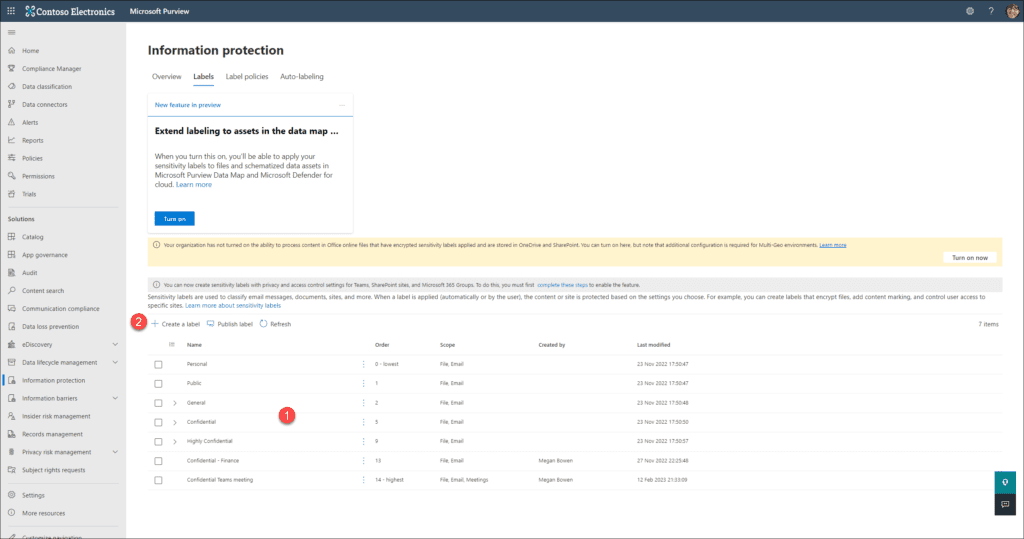
2. Open the Labels section. There is a list with all existing labels (1) and a control panel where you can create a new label (2). To create a new label, click on + Create a label button
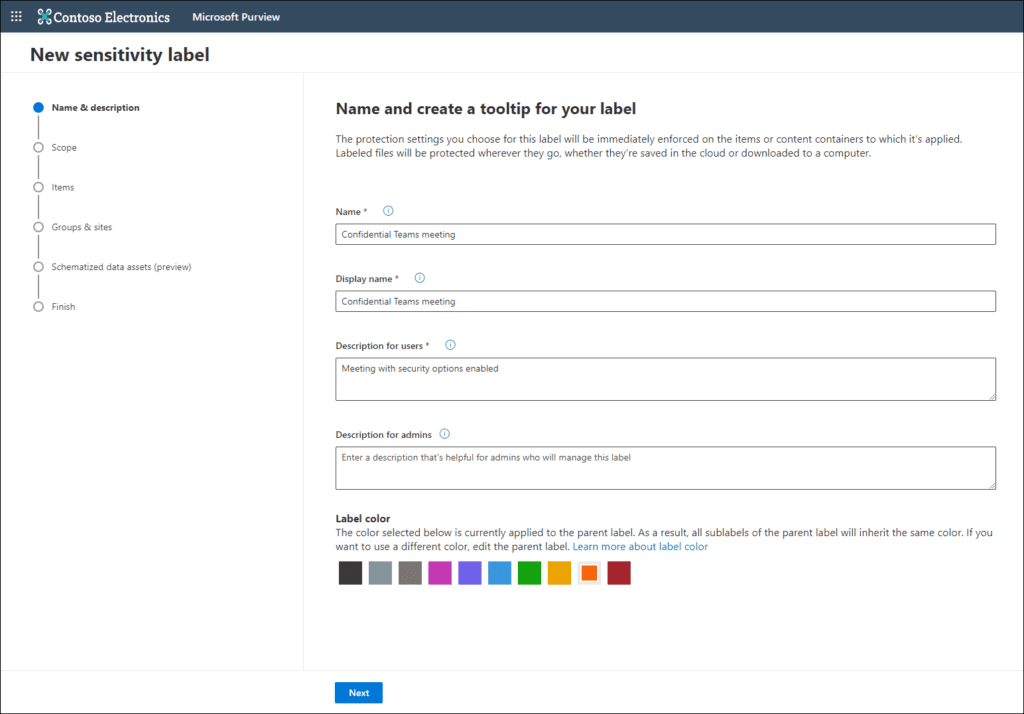
3. Provide the required information (a name, a display name, and a description for users), choose a color, and click Next
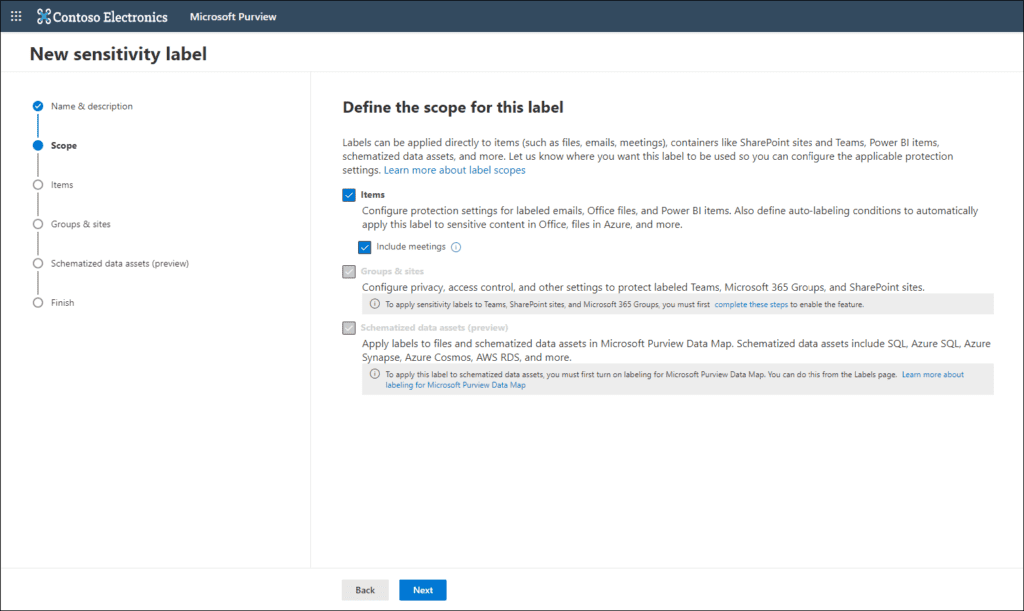
4. Select a scope for the label – check Items and Include meetings
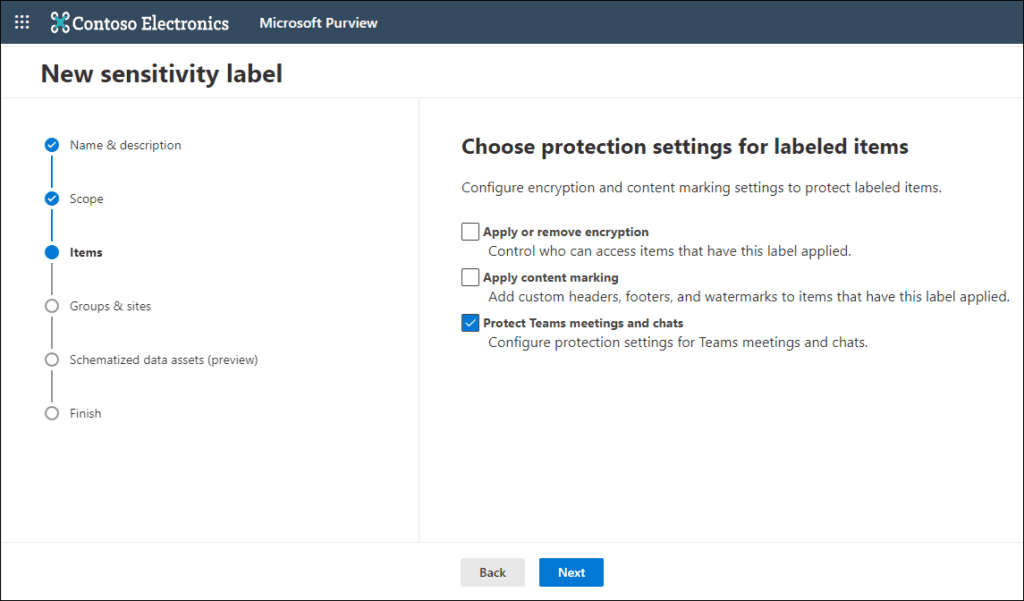
5. Choose protection settings. Select Protect Teams meetings and chats. Other settings are optional but add additional protection levels to meeting invitation e-mails (add a watermark and protect from forwarding).
6. Now you can select settings for your label. Available options:
- Who can bypass the lobby
- Who can present
- Who can record
- End-to-end encryption
- Watermarks
- Chat options

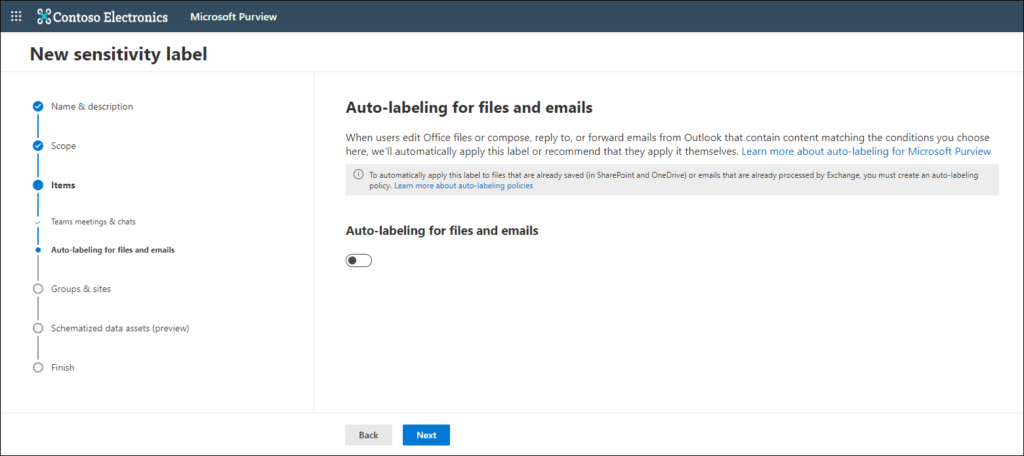
7. Auto-labeling for files and emails – this setting does not work for meetings. Click Next
8. Skip Groups & sites and Schematized data assets (preview). There are no options related to meetings at this point.
9. Review all selected options and Create a label

10. The last step is to publish a label. It requires creating a label policy and then publishing the policy. You can do it later but let’s do it now – select Publish label to users’ apps.


Create a label policy
The second part is to create and publish a label policy.
1. Select a label that you want to use in your policy

2. Select Next to start creating a policy

3. Select users or groups who will be able to add labels to meetings. Keep in mind that those users required a Teams Premium license.

4. Configure policy settings. Here you can specify if a user must provide a justification to remove a label. It could be helpful in more restrictive scenarios.

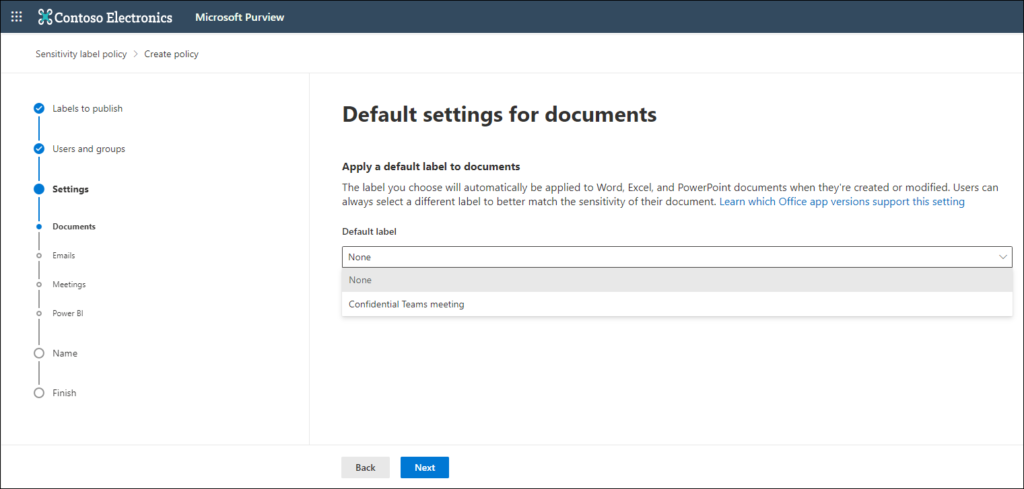
5. Default labeling – you can specify if the label will be automatically applied to a meeting. None is the default setting.
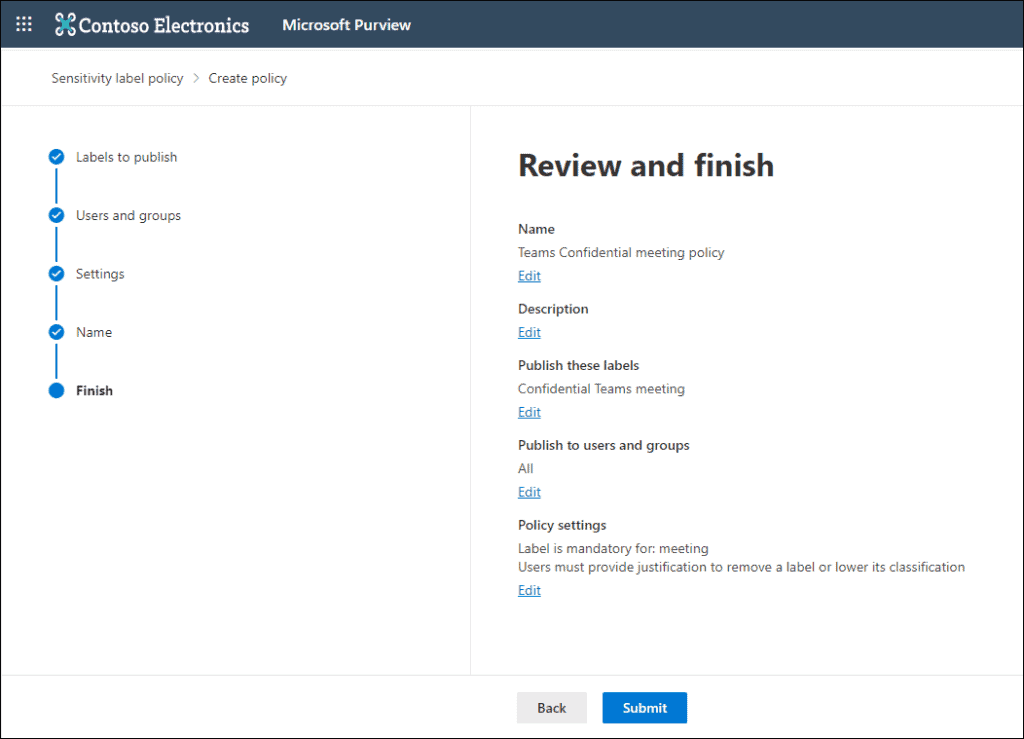
6. Enter a name for your policy

7. Review your policy and click Submit. It can take up to 24 hours to publish the policy (usually it works within 2 hours).
Use sensitivity labels in a meeting
A sensitivity label can be added to a meeting from the meeting setting page. When you create a new meeting go to the Settings page and select a label. All configured options will take effect immediately.
Labels and meeting templates
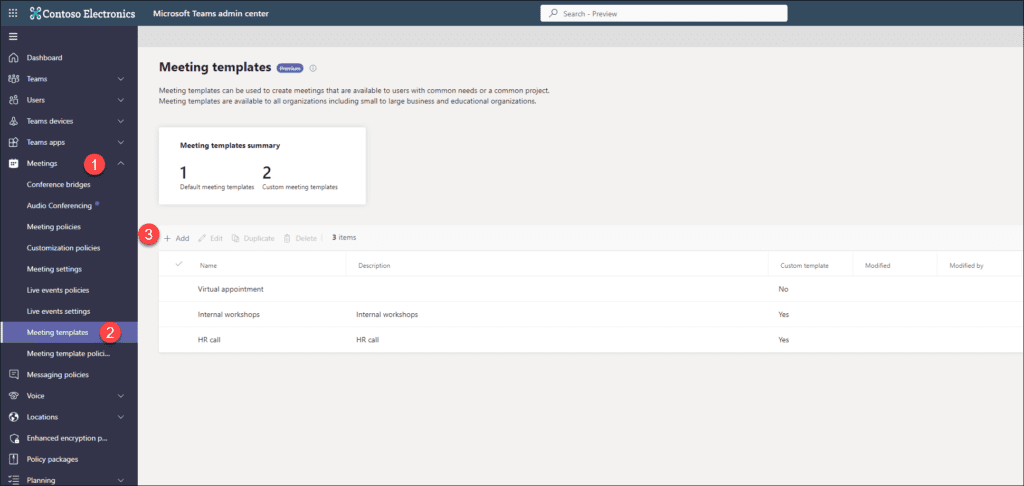
- Navigate to Teams Admin Center, open the section Meetings, and click on Meeting templates. Now click + Add to add a new template. Sensitivity labels cannot be added to the existing template and you must create a new one.
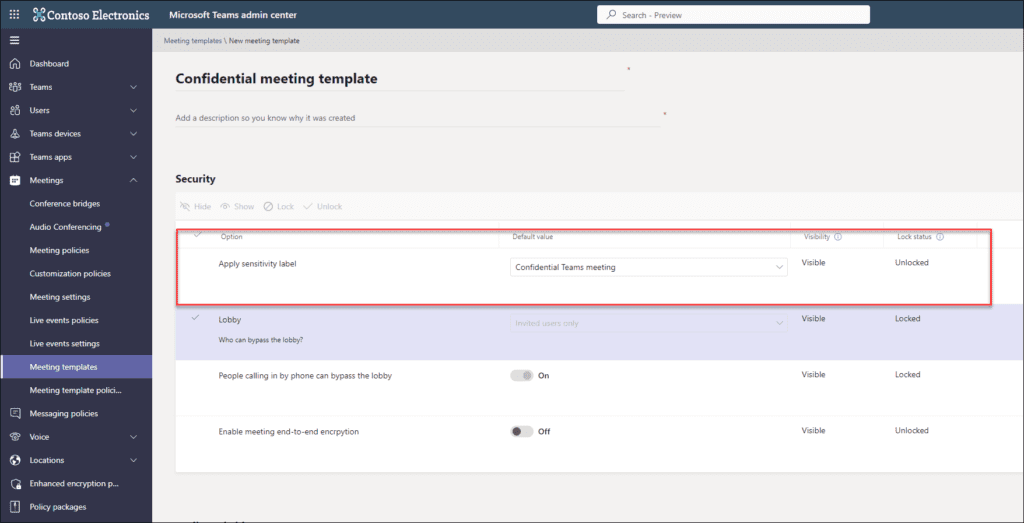
- Select the label. You can configure other settings in the template and publish it.
Summary
Sensitivity labels add another level of security options available in Teams meetings. You can configure precisely what is possible during the meeting with the applied label. Adding a label to a meeting template combines options from both features and makes it easier to manage. Users can use only templates and do not think about 2 different options.
About the Author
Microsoft 365 consultant and architect. I create applications and solutions that improve and facilitate work using Power Platform, SharePoint, and Teams.
My adventure in IT began in 2005. Since then I have been creating and implementing business applications based on SharePoint and Office 365 platforms. I am a big fan of task and process automation (Power Automate) and Modern Workplace platforms (Microsoft Teams).
Reference
Siewnicki, M., 2023, How to configure sensitivity labels for Teams meetings, Available at: https://modernworkplace.site/how-to-configure-sensitivity-labels-for-teams-meetings/ [Accessed on 15 March 2023]


 Using a SharePoint Online list as a Knowledge source via ACTIONS in Copilot AI Studio
