With the Azure AD Premium P2 license you are entitled for Azure AD Identity Protection. You will get the option in Conditional Access to assign risk level based options to your policies. Azure AD Identity Protection can detect six different types of suspicious sign-in activities with 3 different levels of risks.

With the riks levels combined with conditional access policies we can protect sensitive application and data access. With this article I am going to show you how to create risk-based conditional access policies
So let’s create a Policy and get Conditional Access applied with risk levels
Step 1: Log in to the Azure Portal: https://portal.azure.com
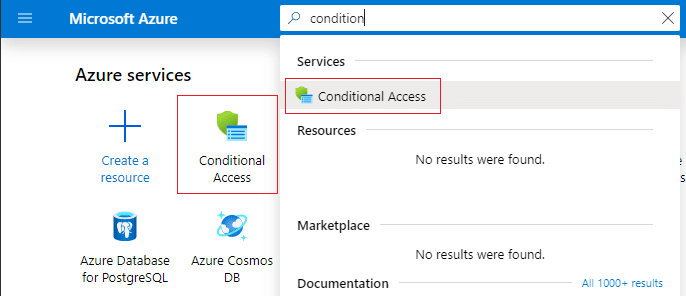
Step 2: Go to Conditional Access
Step 3: Create a New Policy
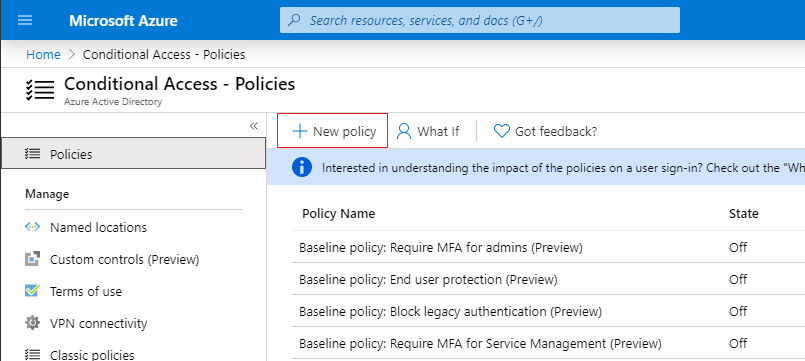
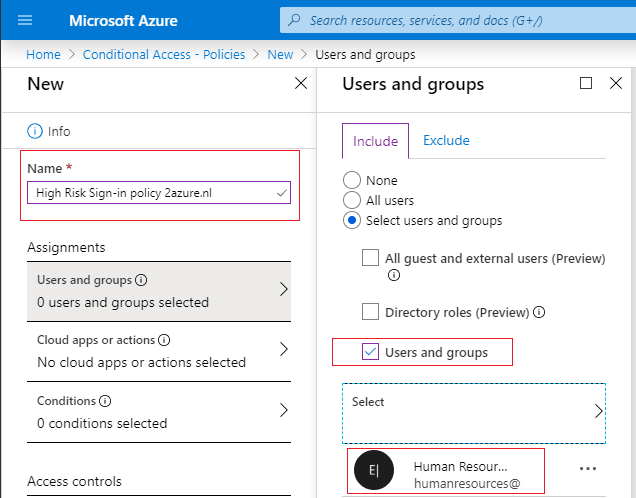
Step 4: In the New Policy Window make sure that you give your policy a name, and include your desired users and groups and click done on the bottom of the blade.
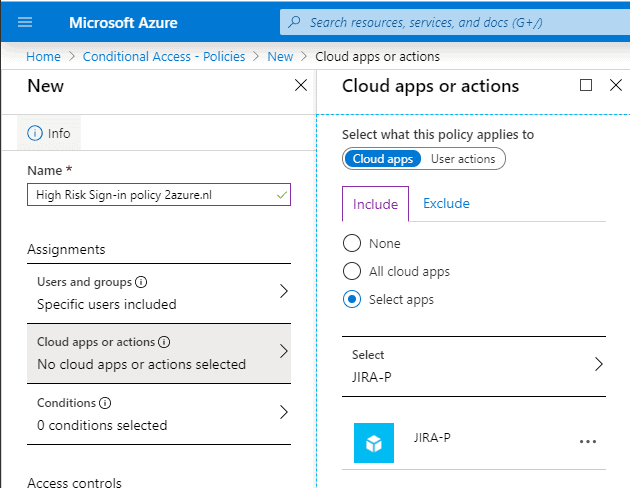
Step 5: On the Cloud apps or actions blade select the application where you want the policy apply to.
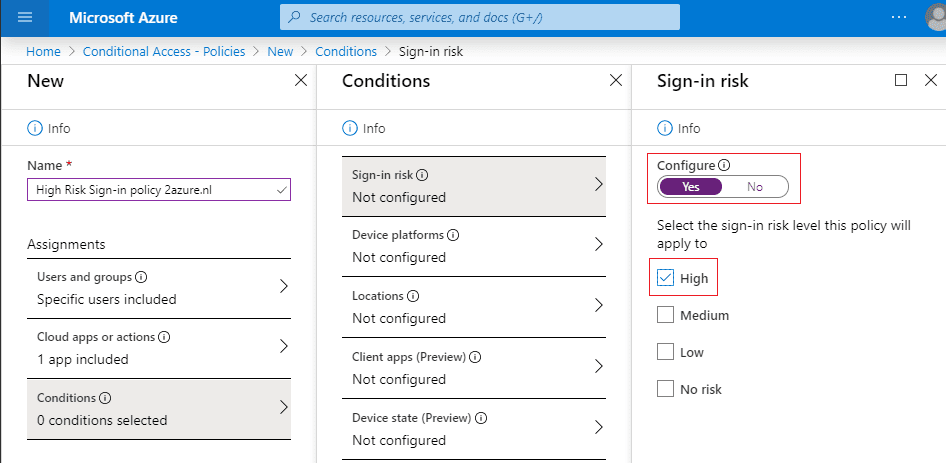
Step 6: This is where it all happens, go to the Conditions blade – Sign-in Risk (If you don’t see the option, make sure you have a valid Azure AD Premium P2 license)
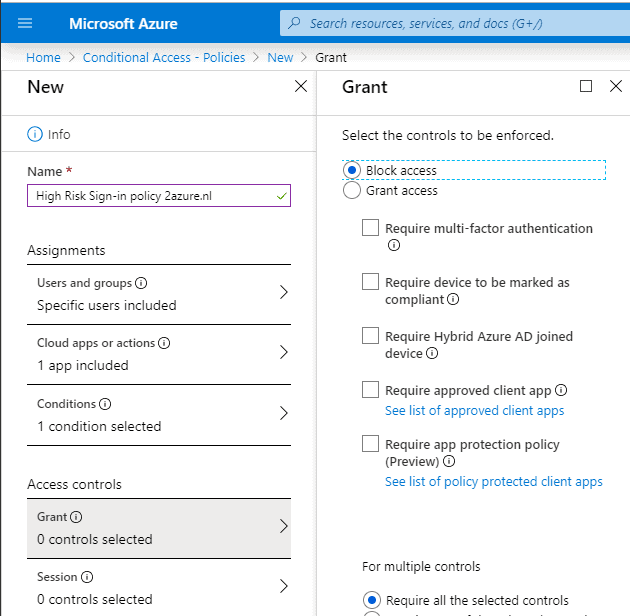
Step 7: On the Grant blade we will apply the controls that will be enforced. As mentioned in step 6, I want to deny access, so we will select Block access. Click on Select when done.
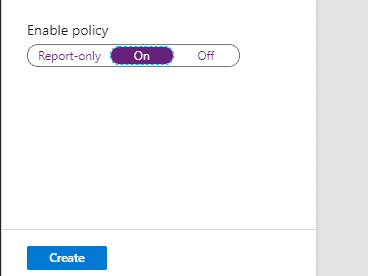
Step 8: The last step is Enabling the Policy by selecting On and clicking Create
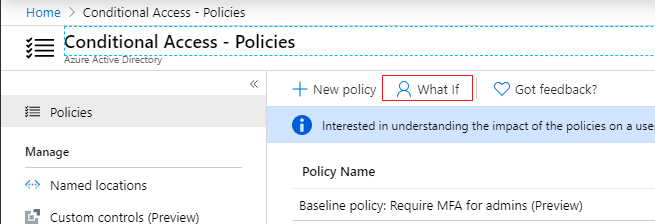
Bonus tip: Now that the policy is applied, you can test your Policy by using the What If function. I would always recommend to test your applied policy by using this function.
About the Author:
My name is Cor den Boer. I am a Certified Microsoft Azure Architect and I work as a Technical Lead / Architect at Proxsys* in Gorinchem the Netherlands. On a daily basis I advise businesses to move to a modern way of working in the public clouds, specifically Azure and Office 365.
Reference:
den Boer, C. (2019). Azure Risk based Conditional Access explained and How to Set it Up!. Available at: https://www.2azure.nl/2019/11/03/azure-risk-based-conditional-access-explained-and-how-to-set-it-up/

