In this blog post I will show how to use Power Automate to create an attribute-based ID in Microsoft Lists. Attribute-based translates to business readable with formatting. This pattern is based on work I did at my previous employer where the List was being used for data imports into a legacy application that required a:
- Prefix (“QST-” for question, “INC-” for incident, “PRB-” for problem and “REQ-” for request)
- Unique number up to 5 character with leading zeros (00123)
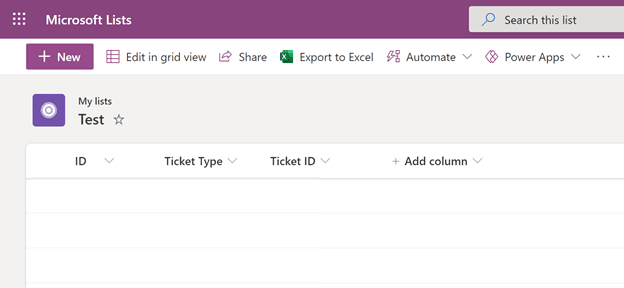
Our demo list, called Test, has the following schema:
| Column name | Column type |
| Ticket Type | Choice with the following options: “Question”, “Incident”, “Problem” and “Request” |
| Ticket ID | Single line of text used to store the Ticket ID |
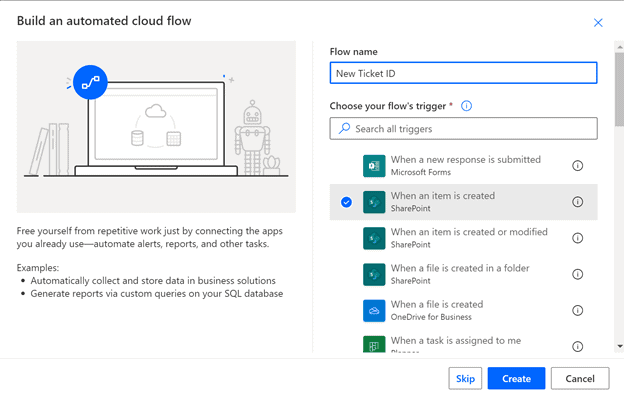
Create a new Flow from the Test list > Automate > Power Automate > See your Flows > Create new > Automated from blank. Provide a Flow name, i.e., “New Ticket ID”, select the SharePoint “When an item is created” trigger and click “Create”.
Set the “Site Address” and “List Name” to your target site and list.

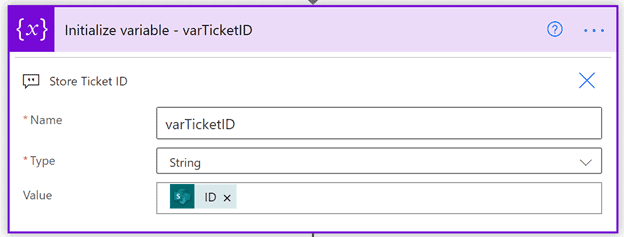
Create a new Initialize variable action and set:
- Name to “varTicketID”
- Type to “String”
- Value to “ID” from the “When an item is created” trigger
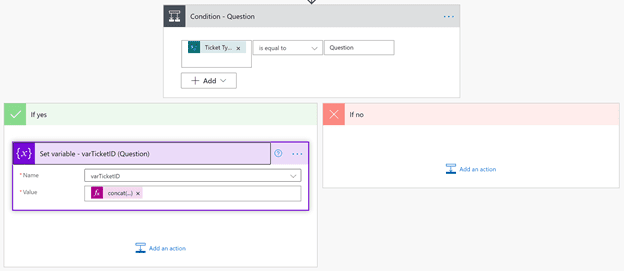
Insert a new Condition action and set:
- Choose a value to “Ticket Type value”
- Condition to “is equal to”
- Choose a value to “Question”
In the If yes branch add a Set variable actions and set:
- Name to “varTicketID”
- Value to the following expression:
concat('QST-', substring(concat('00000', triggerOutputs()?['body/ID']), sub(length(concat('00000', triggerOutputs()?['body/ID'])), 5), 5))
I know the expression is a bit ugly, so let’s break it down into smaller pieces to better understand what is happening.

- Concatenate “00000” and “ID” from the List (“0000010”)
- Is the length of the newly concatenated string (7)
- Is the difference between the length of our new string (7) and the required number length (5), (2)
- Substring our new string from position 2 through to 5,(“00010”)
- Concatenate our newly formed string with “QST-” for Question, resulting in “QST-00010”
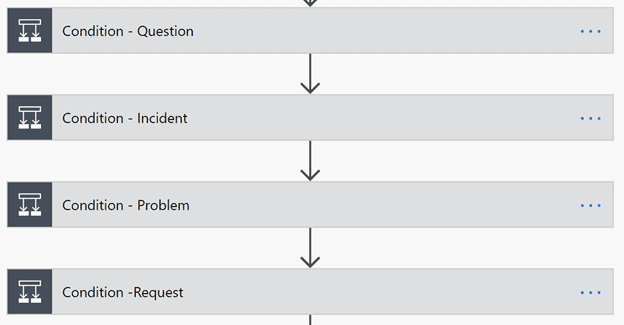
Repeat the Condition and Set Variables above for each of the remaining Ticket Types:
- Incident as “INC-“
- Problem as “PRB-“
- Request as “REQ-“
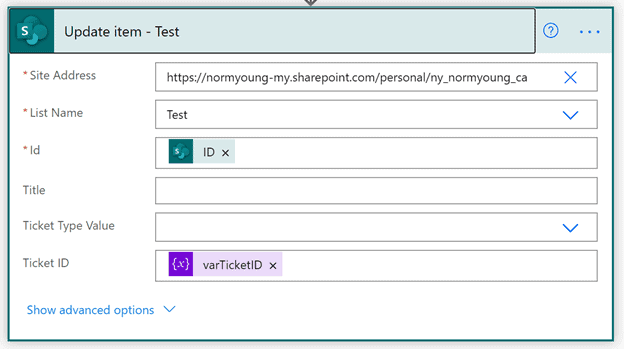
Insert a new SharePoint Update item action and set “Site Address” and “List Name” to your target site, list and:
- ID to “ID” from the “When an item is created” trigger
- Ticket ID to “varTicketID”
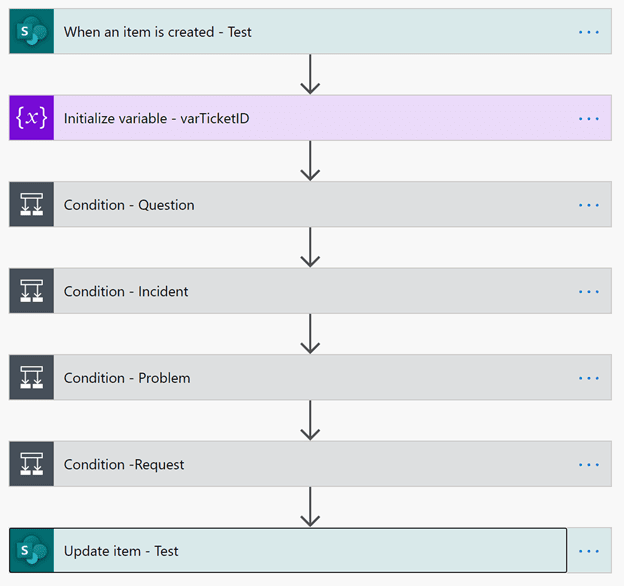
My completed Flow looks like the image below.
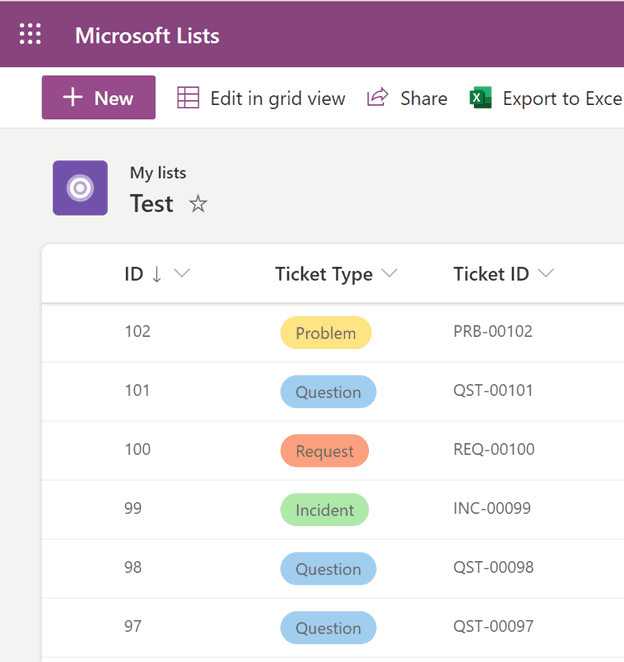
If all goes well, you will have created a new attribute-base ID. For most List work I have encountered this pattern is not required and should only be used when necessary. The real trick to this pattern is mastering the complicated expression. Breaking it down into smaller sections will make this expression manageable when you must do like manipulations.
Thanks for reading.
NY
About the Author:
Norm here from Ontario, Canada. I’m currently working in higher-ed with a focus on SharePoint, Teams and the Power Platform.
I’ve been in IT for 20 years and during all that time I’ve always felt the need to keep up my professional development in the hopes of getting ahead and staying relevant. This blog is an extension of that need.
My home life includes a beautiful wife and two wonderful kids. Life is good!
Reference:
Young, N. (2021). Use Power Automate to create an attribute-based ID in MS Lists. Available at: https://normyoung.ca/2021/02/02/use-power-automate-to-create-an-attribute-based-id-in-ms-lists/ [Accessed: 4th March 2021].
Find more great Power Platform content here.


